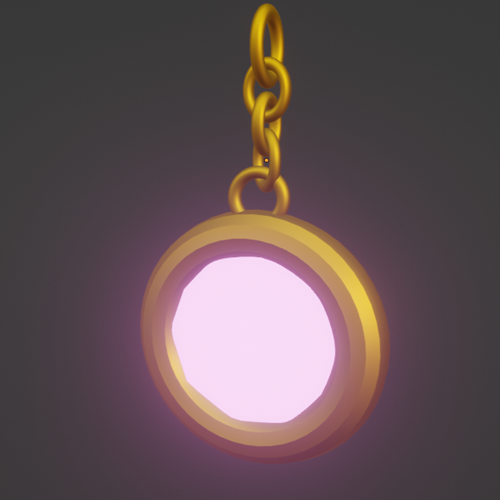
Design a glowing pendant in Blender 3d involves modeling the pendant shape, applying an emission material, and enabling post-processing effects to achieve the glow. Start by modeling the pendant using basic shapes like a sphere or cylinder, adjusting its form to suit your design. Once the model is ready, switch to the Shading workspace and apply a new material using an Emission shader, choosing your desired glow color and adjusting the emission strength to control the intensity. For the glow effect to be visible, enable the Bloom option in the Render Properties panel if you’re using the Eevee render engine. If you’re using Cycles, you’ll need to use the Compositor by enabling ‘Use Nodes’ and adding a Glare node to simulate glow after rendering. Fine-tune the glare settings for a natural or stylized effect. Enhance the overall look with appropriate lighting, possibly using HDRI for reflections, and render the scene with a suitable background to make the glowing pendant stand out. I also provided Blender & object file. Make sure use proper setting before export to blrnder.
| File Formats | blend, Obj |
| Textures | no |
| Vertices | na |
| Triangles | na |
| Edges | na |
| Faces | na |
| Materials | Yes |
| Animated | no |
| Rigged | no |
| UVW | no |
| Quality | High |
